
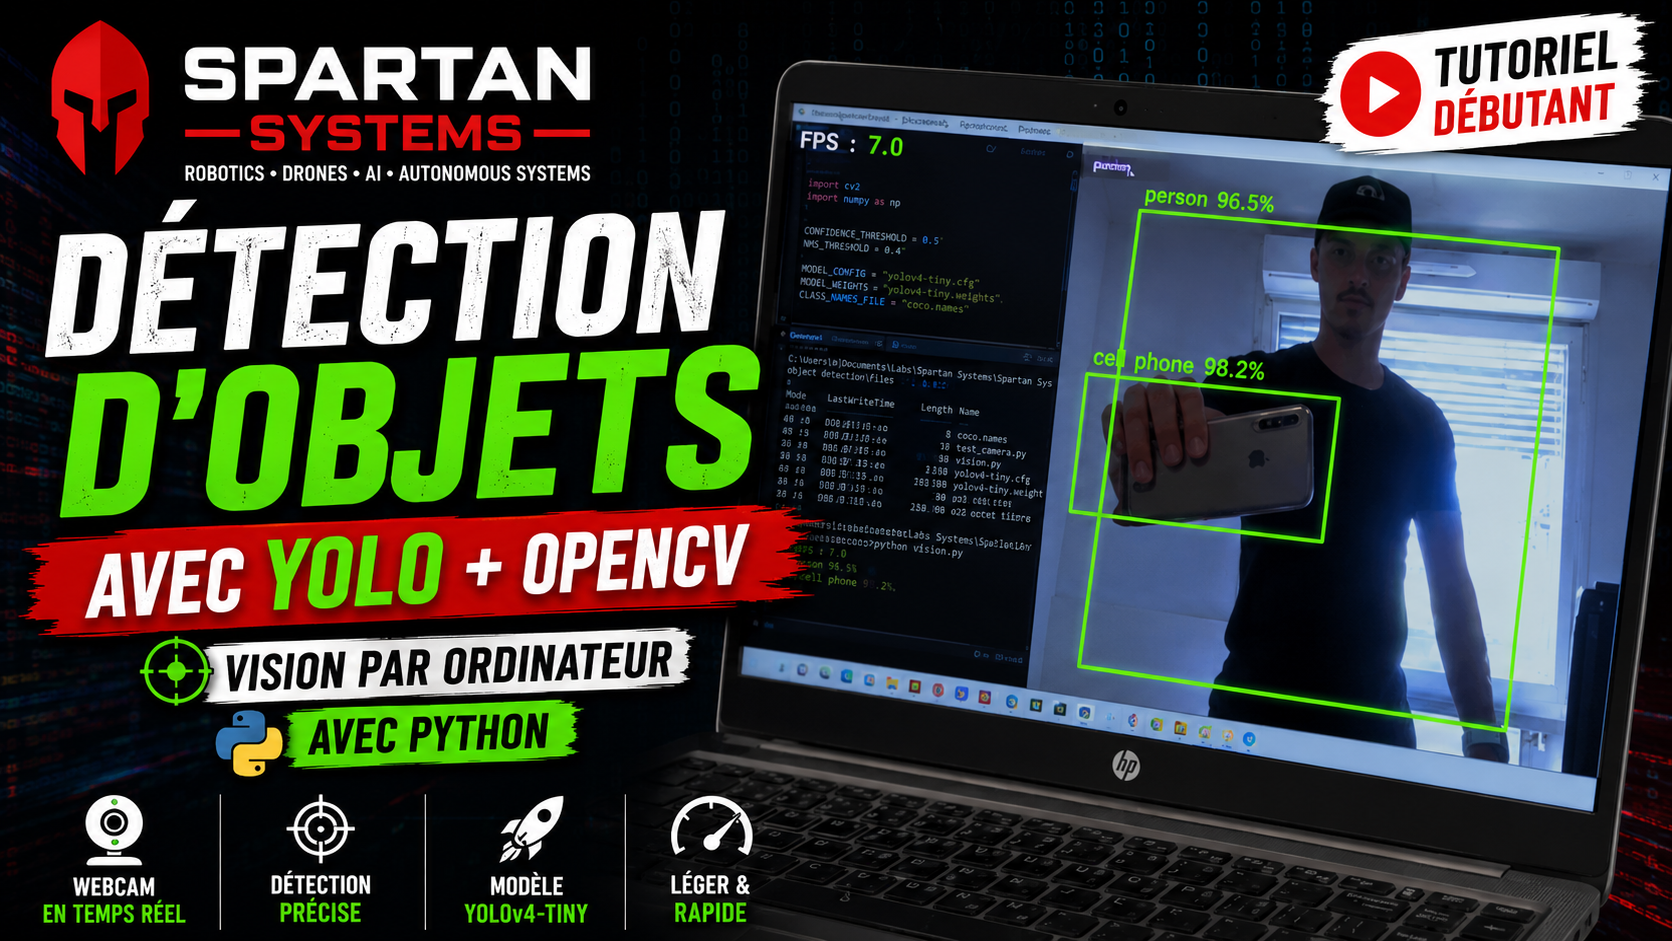
In this article, we’ll explore the basics of computer vision and build a real-time object detection system using a webcam, Python, OpenCV and YOLO.
Object detection systems are used in many fields: robotics, drones, autonomous vehicles, smart surveillance, industrial sorting and embedded systems. The goal of this tutorial is to understand the fundamentals before moving on to custom-trained models.
Video Demo
Prerequisites
-
A USB or built-in webcam
-
Python installed on your machine
-
Some objects to test detection on
-
The following files:
coco.namesyolov4-tiny.cfgyolov4-tiny.weights
How does OpenCV work?
OpenCV is an open-source library for computer vision.
It can be used to:
- read an image or video;
- access a webcam;
- modify images;
- detect shapes;
- overlay text or rectangles;
- process images in real time;
- run AI models.
In this tutorial, OpenCV will:
- capture frames from the webcam;
- prepare the image for YOLO;
- run the detection model;
- display detected objects with bounding boxes.
How does YOLO work?
YOLO stands for You Only Look Once.
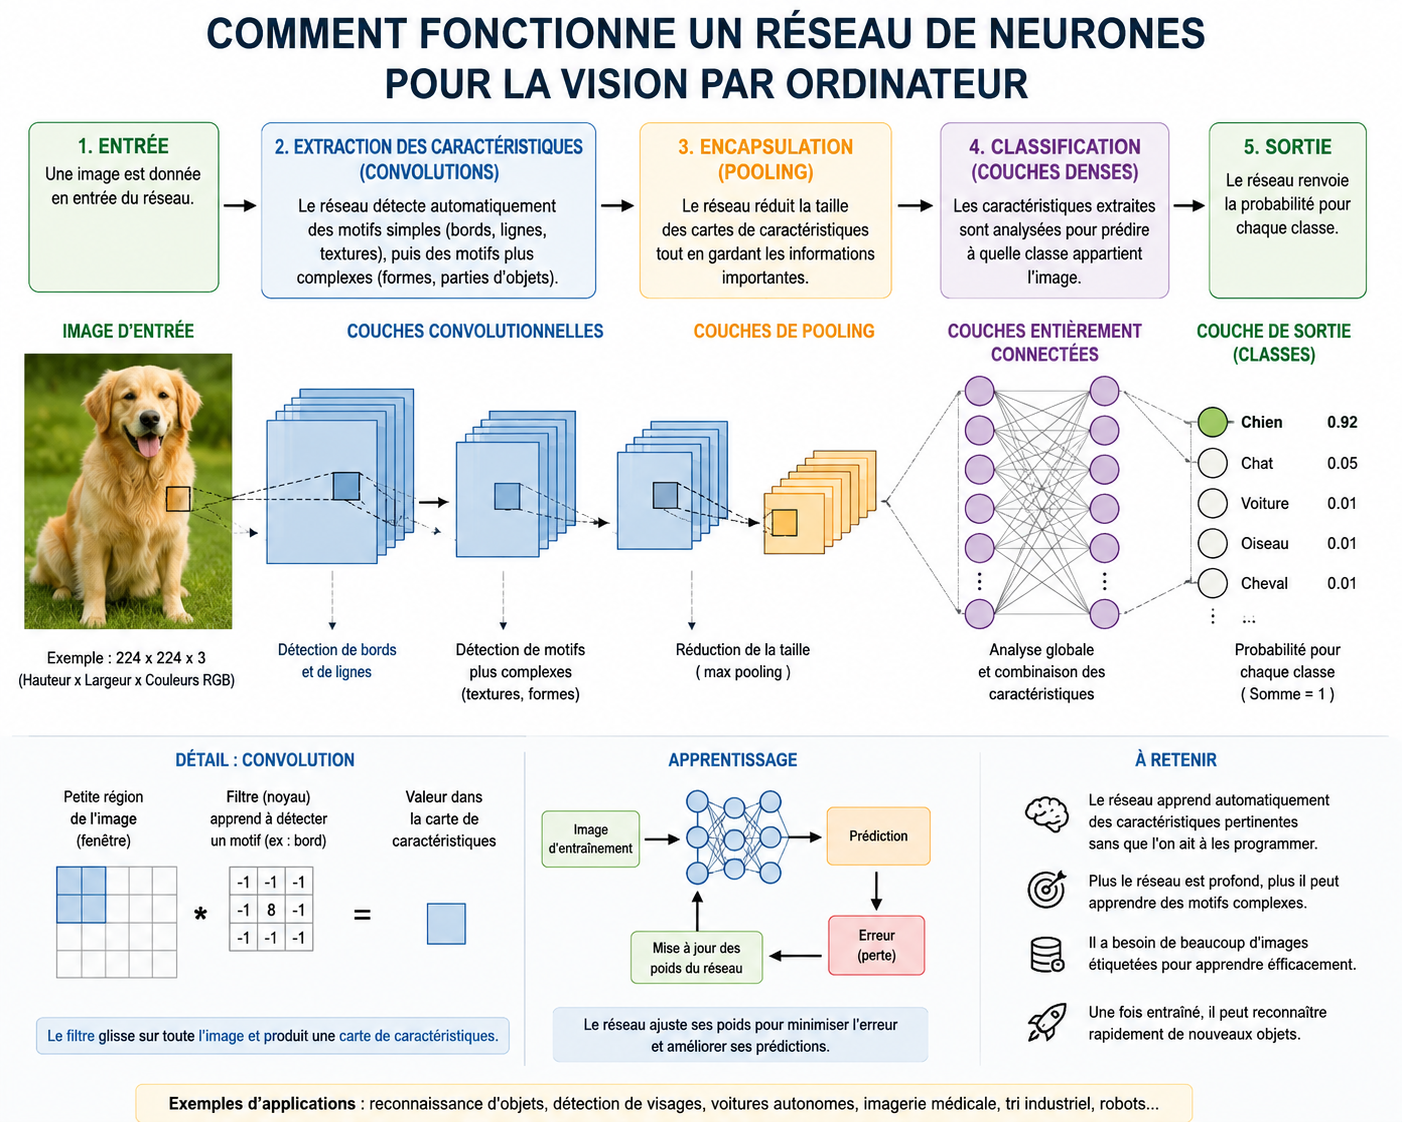
It’s an AI model based on neural networks that can detect multiple objects in a single image pass. Unlike older methods, YOLO looks at the full image and directly predicts:
- the object class;
- its position;
- its confidence score.
For example, if a person is in front of the camera, YOLO can return:
person: 86%along with the bounding box coordinates.
In this project we use YOLOv4-tiny — a lightweight version of YOLOv4, faster and better suited for less powerful machines.
Setting up the environment
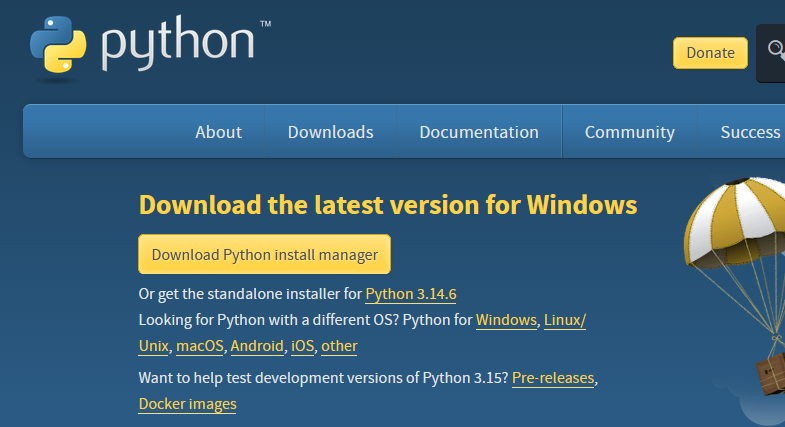
Install Python from the official website:
https://www.python.org/downloads/
Then open a terminal in the project folder and install the required libraries:
python -m pip install --upgrade pip
python -m pip install opencv-python
python -m pip install numpy
Your project folder should look like this:
Detection-YOLO/
├── main.py
├── coco.names
├── yolov4-tiny.cfg
└── yolov4-tiny.weights
Commented Python code
import time
import cv2
import numpy as np


CONFIDENCE_THRESHOLD = 0.5
NMS_THRESHOLD = 0.4

MODEL_CONFIG = "yolov4-tiny.cfg"
MODEL_WEIGHTS = "yolov4-tiny.weights"
CLASS_NAMES_FILE = "coco.names"


def load_model():
    with open(CLASS_NAMES_FILE, "r", encoding="utf-8") as file:
        class_names = [line.strip() for line in file if line.strip()]

    network = cv2.dnn.readNetFromDarknet(MODEL_CONFIG, MODEL_WEIGHTS)
    network.setPreferableBackend(cv2.dnn.DNN_BACKEND_OPENCV)
    network.setPreferableTarget(cv2.dnn.DNN_TARGET_CPU)
    output_layers = network.getUnconnectedOutLayersNames()

    return network, output_layers, class_names


def main():
    network, output_layers, class_names = load_model()

    camera = cv2.VideoCapture(0)
    camera.set(cv2.CAP_PROP_FRAME_WIDTH, 640)
    camera.set(cv2.CAP_PROP_FRAME_HEIGHT, 480)
    camera.set(cv2.CAP_PROP_BUFFERSIZE, 1)

    if not camera.isOpened():
        raise RuntimeError("Cannot open camera.")

    previous_time = time.time()

    while True:
        success, frame = camera.read()
        if not success:
            print("Cannot read frame.")
            break

        height, width = frame.shape[:2]

        blob = cv2.dnn.blobFromImage(
            frame,
            scalefactor=1 / 255.0,
            size=(416, 416),
            swapRB=True,
            crop=False,
        )

        network.setInput(blob)
        predictions = network.forward(output_layers)

        boxes = []
        confidences = []
        class_ids = []

        for output in predictions:
            for detection in output:
                scores = detection[5:]
                class_id = int(np.argmax(scores))
                confidence = float(scores[class_id])

                if confidence < CONFIDENCE_THRESHOLD:
                    continue

                center_x = int(detection[0] * width)
                center_y = int(detection[1] * height)
                box_width = int(detection[2] * width)
                box_height = int(detection[3] * height)
                x = center_x - box_width // 2
                y = center_y - box_height // 2

                boxes.append([x, y, box_width, box_height])
                confidences.append(confidence)
                class_ids.append(class_id)

        selected_indices = cv2.dnn.NMSBoxes(
            boxes, confidences, CONFIDENCE_THRESHOLD, NMS_THRESHOLD,
        )

        for index in selected_indices:
            index = int(index)
            x, y, box_width, box_height = boxes[index]
            confidence = confidences[index]
            class_id = class_ids[index]

            x = max(0, x)
            y = max(0, y)

            label = class_names[class_id]
            text = f"{label}: {confidence * 100:.1f}%"

            cv2.rectangle(frame, (x, y), (x + box_width, y + box_height), (0, 255, 0), 2)
            cv2.putText(frame, text, (x, max(25, y - 10)), cv2.FONT_HERSHEY_SIMPLEX, 0.6, (0, 255, 0), 2)

        current_time = time.time()
        fps = 1 / max(current_time - previous_time, 0.001)
        previous_time = current_time

        cv2.putText(frame, f"FPS: {fps:.1f}", (10, 30), cv2.FONT_HERSHEY_SIMPLEX, 0.8, (255, 255, 255), 2)
        cv2.imshow("Object Detection", frame)

        if cv2.waitKey(1) & 0xFF == ord("q"):
            break

    camera.release()
    cv2.destroyAllWindows()


if __name__ == "__main__":
    main()
Testing
Once the program is running, a window opens with the live webcam feed.
Place objects in front of the camera:
- a person;
- a bottle;
- a cup;
- a phone;
- a chair;
- a book;
- a ball.
If the object belongs to the COCO dataset classes, YOLO will draw a bounding box around it with its name and confidence score.
Common issues
The webcam won’t open
Try replacing:
camera = cv2.VideoCapture(0)with:
camera = cv2.VideoCapture(1)On Windows you can also try:
camera = cv2.VideoCapture(0, cv2.CAP_DSHOW)The program is slow
YOLOv4-tiny is lighter than YOLOv4, but detection can still be slow on some machines. You can improve performance by:
- reducing webcam resolution;
- closing other applications;
- using an even lighter model;
- using a compatible GPU if available.
The object isn’t detected
The model is trained on the COCO dataset and can only recognise classes it has been trained on (person, car, dog, cat, bottle, chair, laptop, cell phone…). Custom objects require a dedicated trained model.
Conclusion
In this tutorial, we used OpenCV and YOLOv4-tiny to detect objects in real time with a webcam.
This is a great introduction to computer vision and lays the groundwork for more advanced projects such as:
- custom object detection;
- animal recognition;
- embedded detection on Raspberry Pi;
- drone vision;
- shark detection for the Shark Sentinel project.
In a future article, we’ll go further by training our own YOLO model to detect custom objects in real time.