
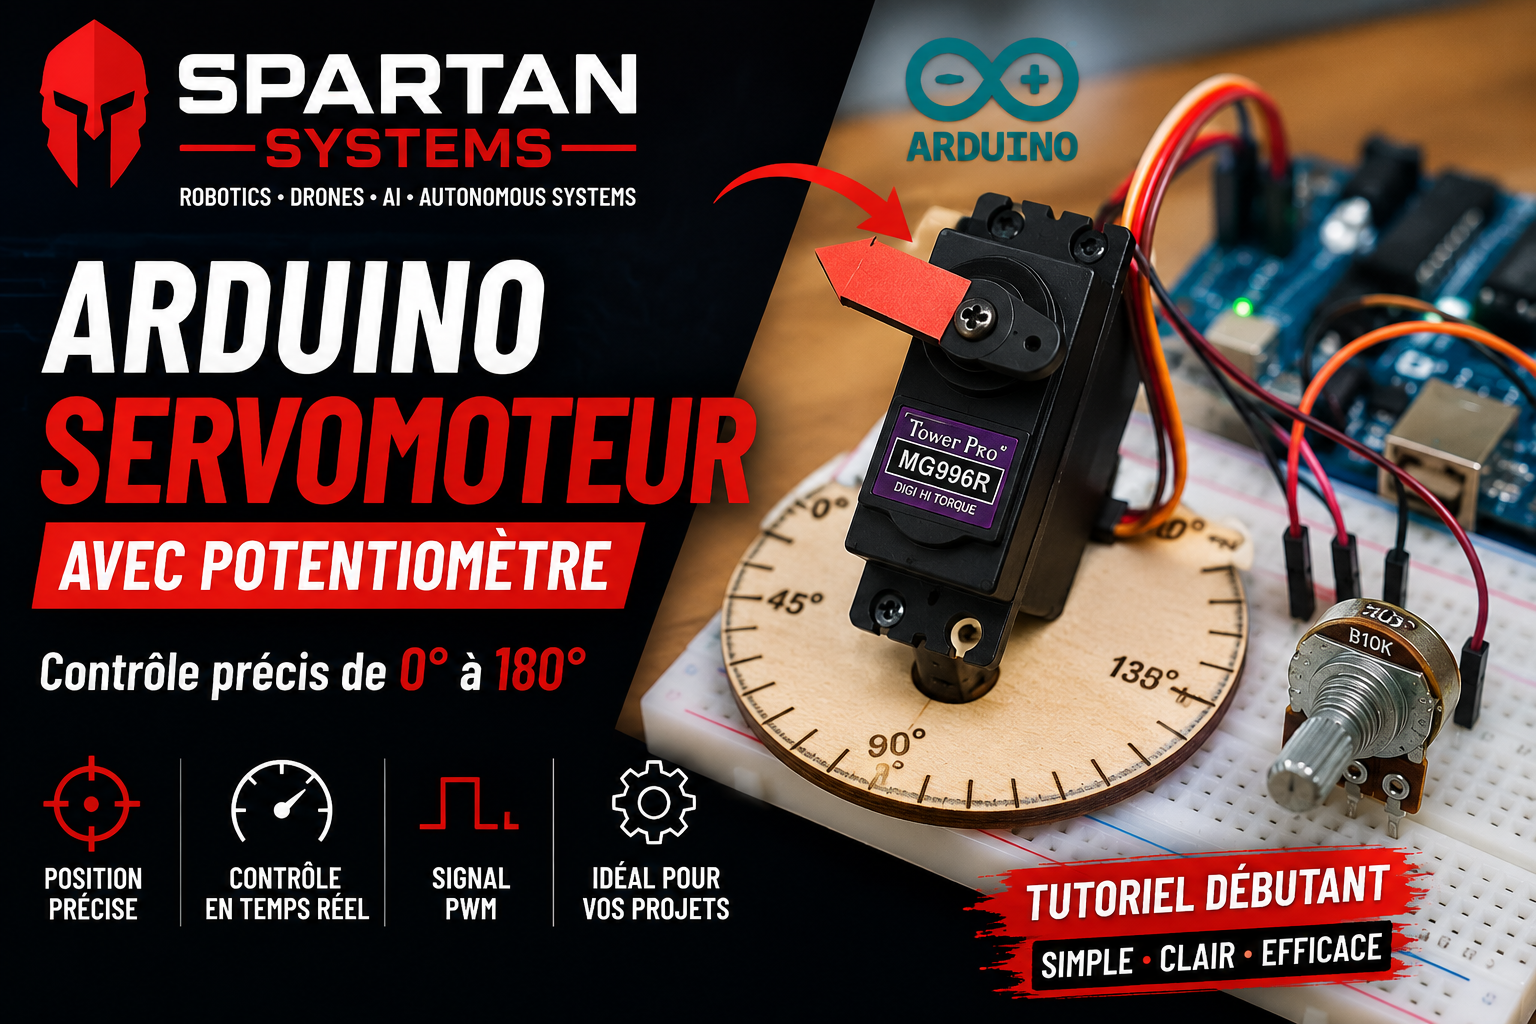
Servo motors are essential components in electronics and robotics. They are used in drones, robotic arms, mobile robots, RC vehicles, motorized cameras and many autonomous systems.
Unlike a standard DC motor that spins continuously, a servo motor can position itself at a precise angle. This makes it a key component whenever accurate motion control is needed.
In this tutorial, we will learn how to control a MG996R servo motor using an Arduino Uno and a 10 kΩ potentiometer. By turning the potentiometer, the servo will move between 0° and 180°.
Required parts
- Arduino Uno
- External 5V power supply (2-3A)
- MG996R servo motor
- 10 kΩ potentiometer
- Breadboard
- Jumper wires (8 for the circuit)
- (Optional) 1000 µF capacitor to stabilize the servo power supply
- (Optional) Laser-cut compass in cardboard or wood
- (Optional) Laser-cut arrow in cardboard or wood
- (Optional) M3 × 15 mm screws × 2
- (Optional) M3 nuts × 2
Wiring diagram
| Component | Arduino |
|---|---|
| Potentiometer OUT | A0 |
| Potentiometer VCC | 5V |
| Potentiometer GND | GND |
| Servo signal | D9 |
| Servo VCC | 5V (external) |
| Servo GND | Common GND |
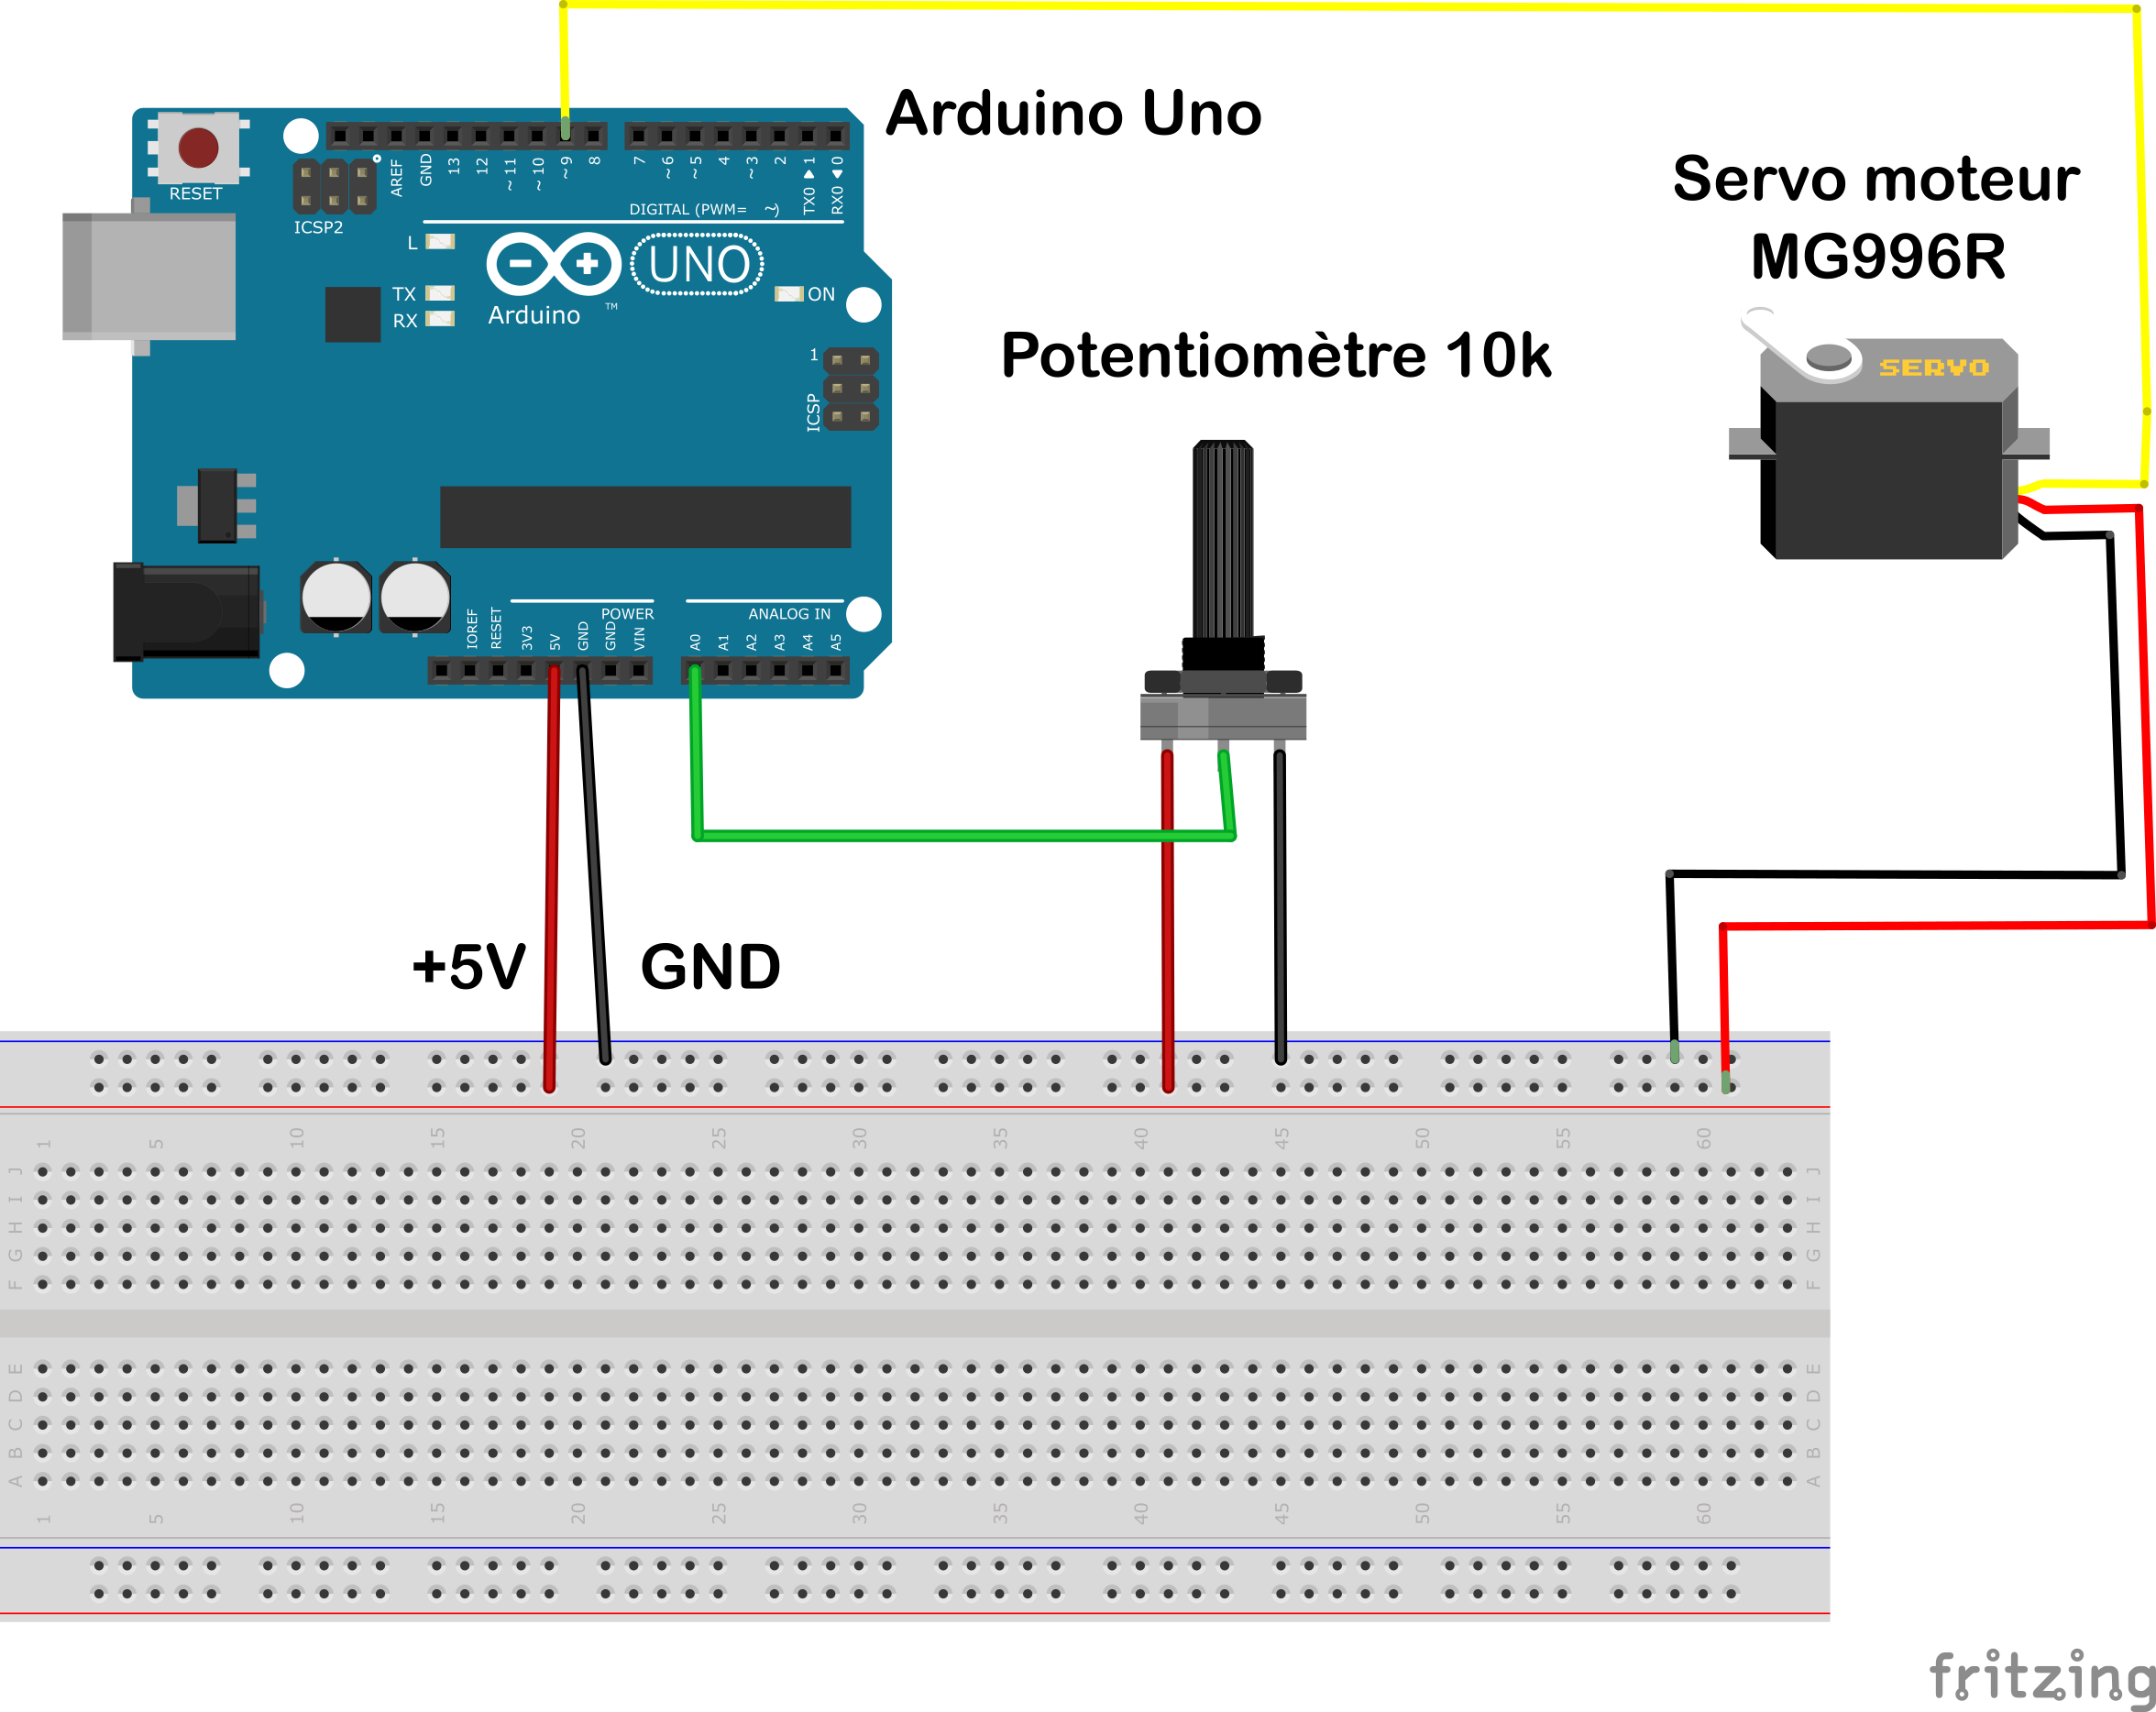
⚠️ The MG996R can draw up to 2.5 A — do not power it directly from the Arduino. Use a regulated 5V external power supply and connect its ground to the Arduino’s ground.
How a servo motor works
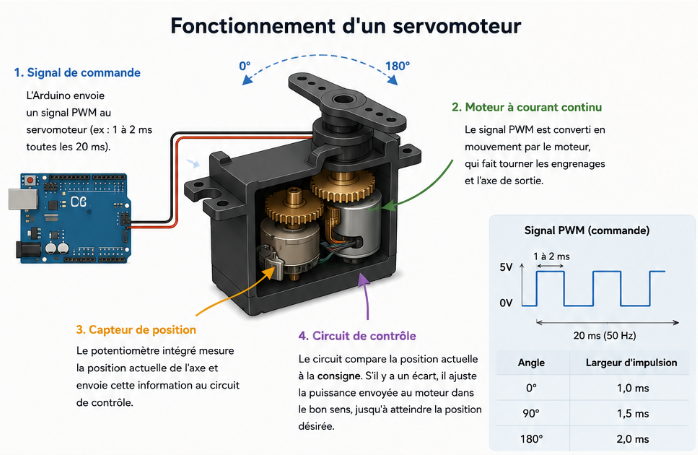
A servo motor is a closed-loop system: it constantly measures the position of its shaft and compares it to the target position.
Unlike a standard motor, a servo combines several elements in a single housing:
- A DC motor that produces the movement.
- A gear train that reduces speed and increases torque.
- An internal potentiometer that continuously measures the shaft position.
- A control circuit that compares the current position to the desired one.
When the Arduino sends a command via a PWM signal, the servo’s electronics compare the requested position with the measured one.
- If the shaft is not at the right position, the motor turns accordingly.
- Once the target position is reached, the motor stops.
- If an external force moves the shaft, the servo immediately corrects its position.
This feedback loop gives the servo precise positioning, excellent repeatability, and position hold even under load.
The PWM signal
Most servos are controlled by a PWM signal at approximately 50 Hz (a 20 ms period).
The pulse width determines the requested angle:
| Pulse width | Approximate position |
|---|---|
| 1.0 ms | 0° |
| 1.5 ms | 90° |
| 2.0 ms | 180° |
Arduino’s Servo.h library handles the signal generation automatically. Simply specify the desired angle:
myServo.write(angle);Servo motor advantages
- Precise shaft positioning.
- High torque thanks to the gear reduction.
- Automatic position hold.
- Simple control with a single PWM signal.
- Small form factor.
- Ideal for robotics, drones and Arduino projects.
Arduino code
#include <Servo.h>

Servo myServo;

const int potPin = 0;
int potValue = 0;
int angle = 0;

void setup() {
  myServo.attach(9);
}

void loop() {
  potValue = analogRead(potPin);
  angle = map(potValue, 0, 1023, 0, 180);
  myServo.write(angle);
  delay(15);
}
Components and assembly
10 kΩ Potentiometer
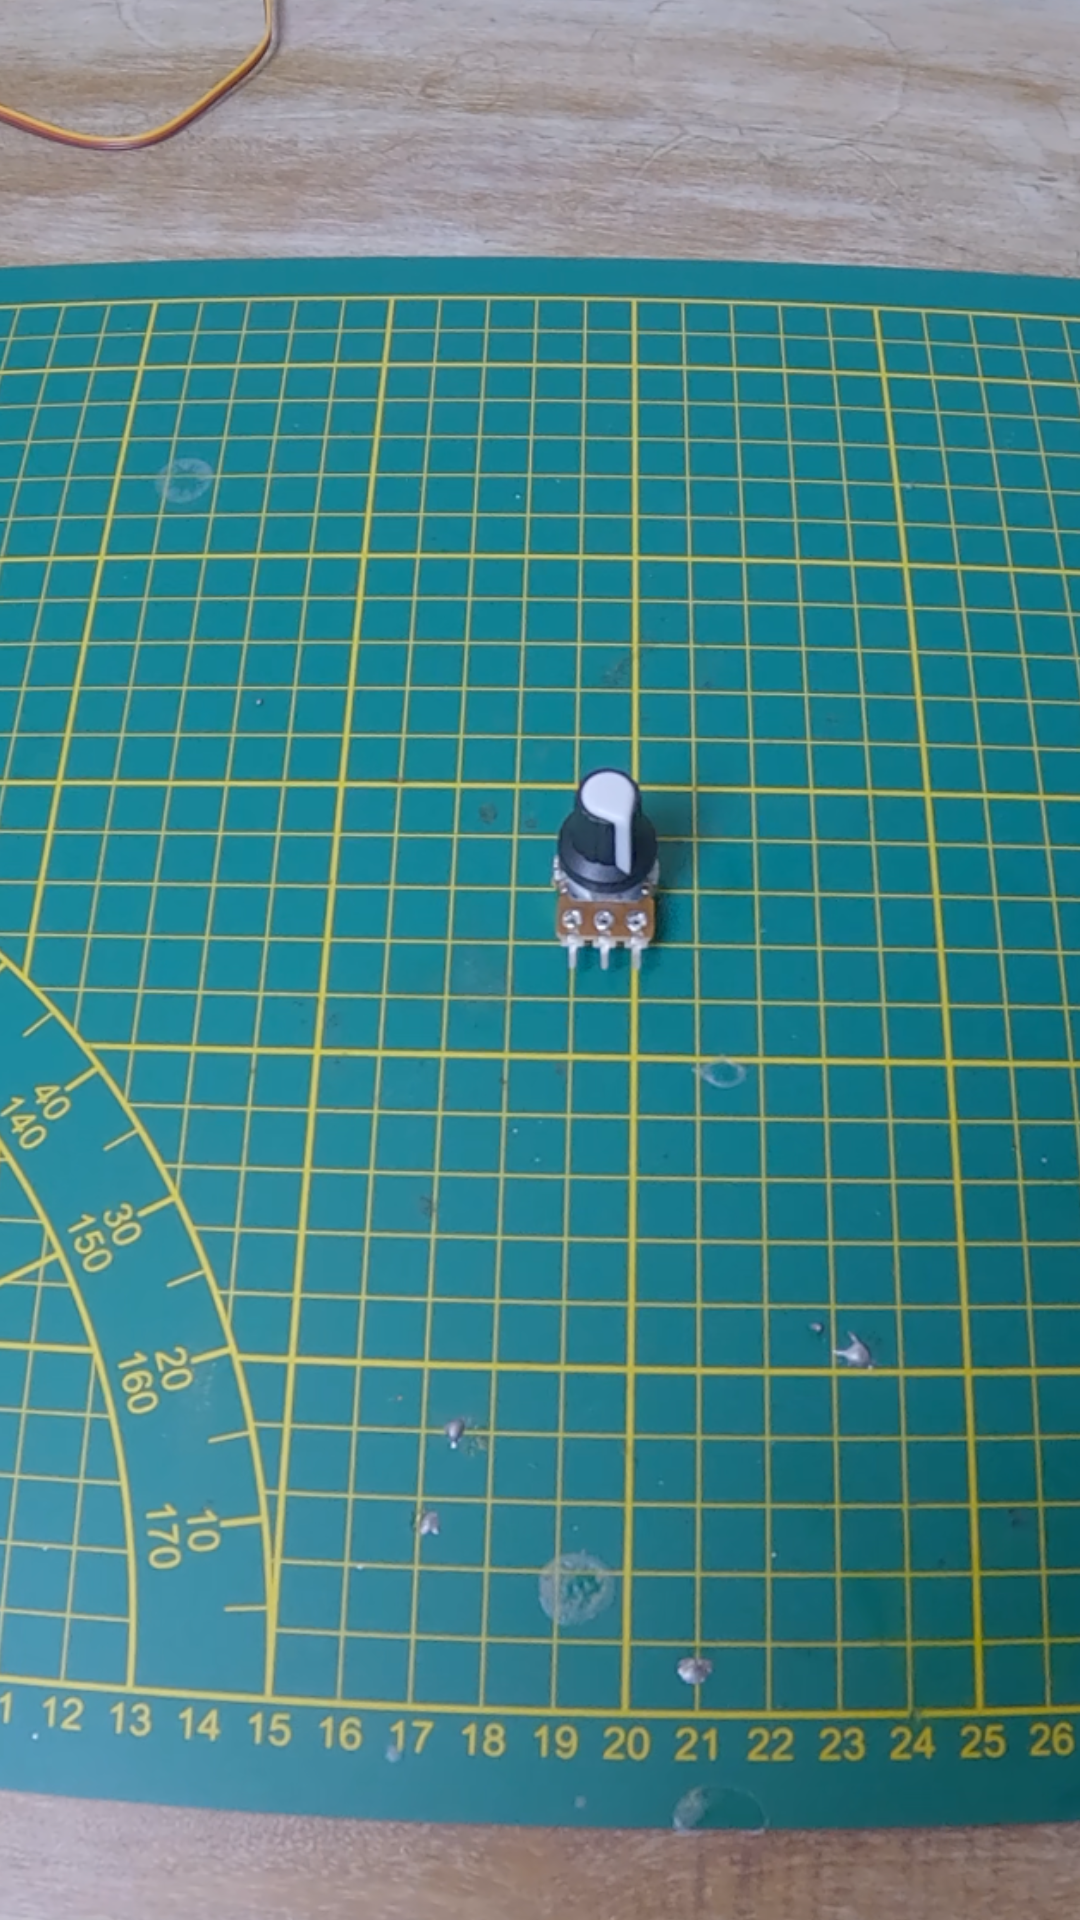
Left pin: +5V, middle pin: signal (data), right pin: GND.
MG996R Servo Motor
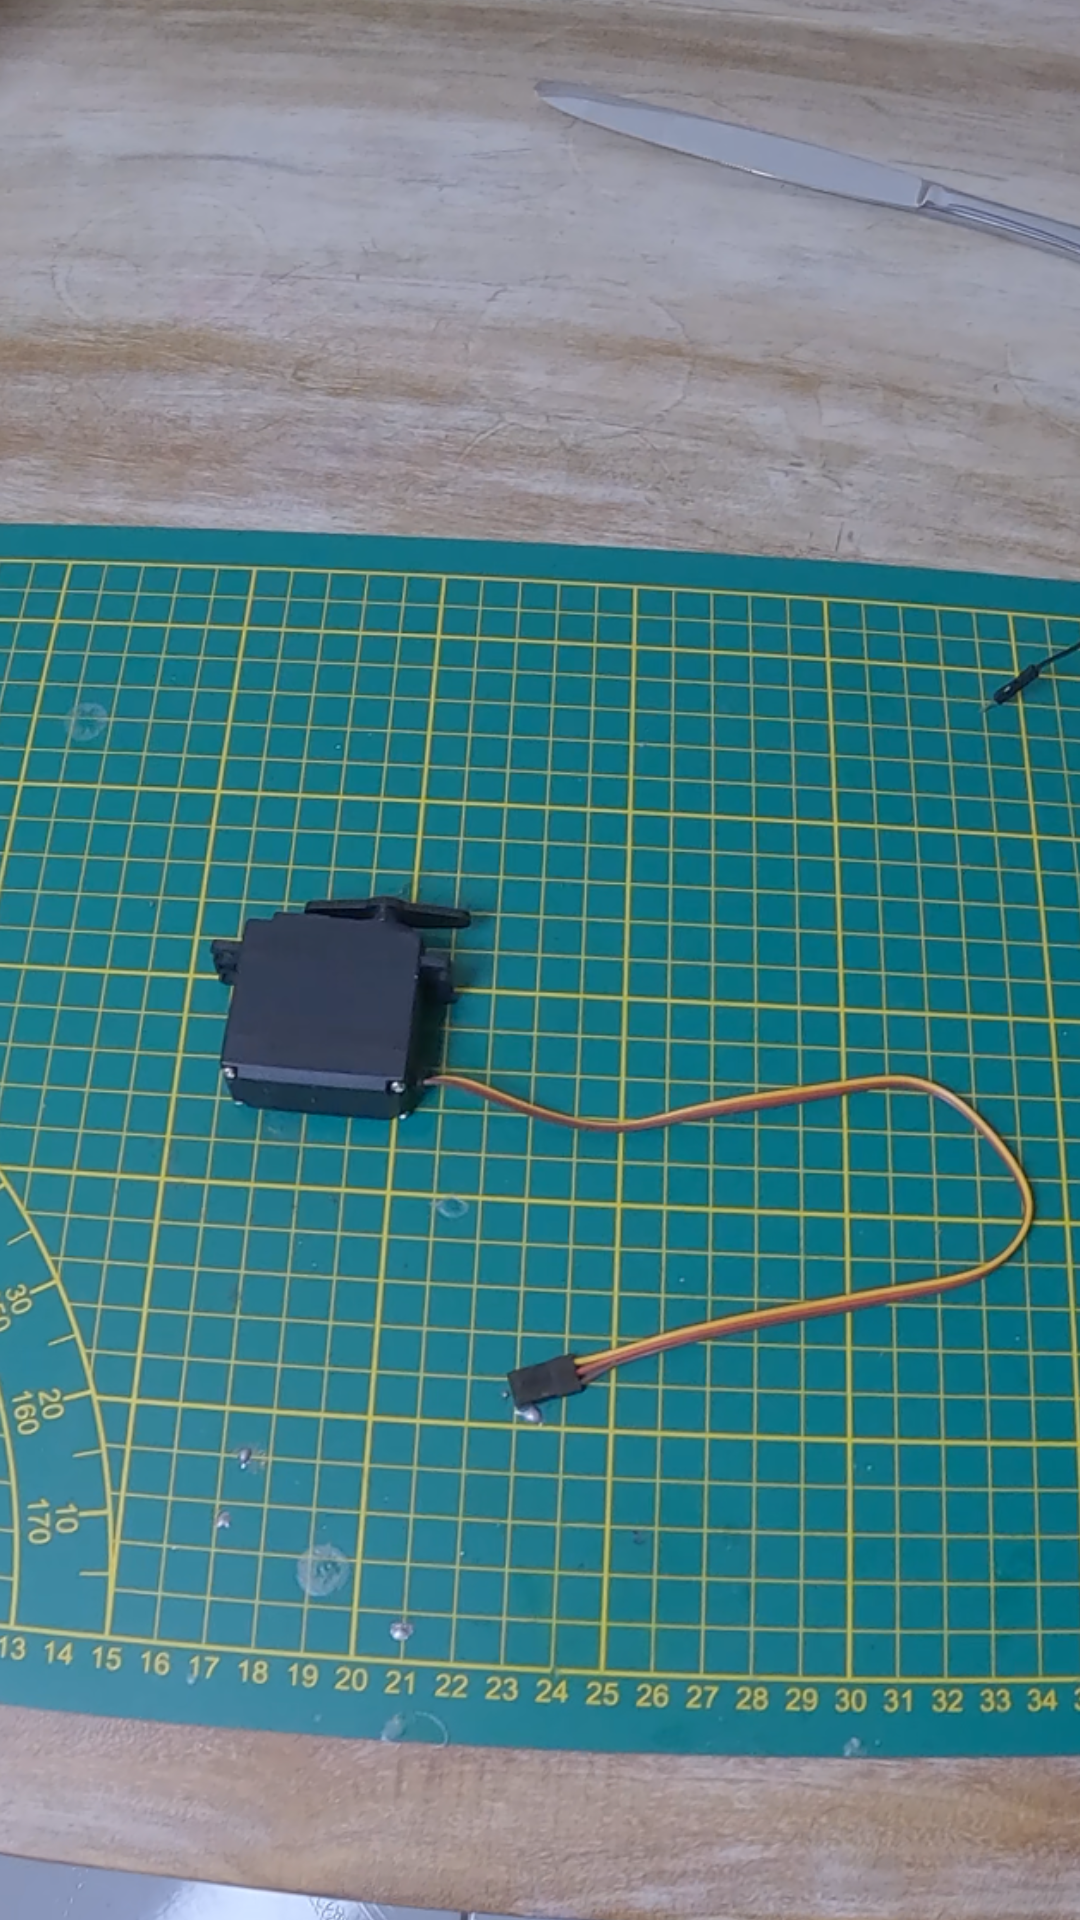
An external 5V 1-3A power supply is required.
Compass, screws and nuts
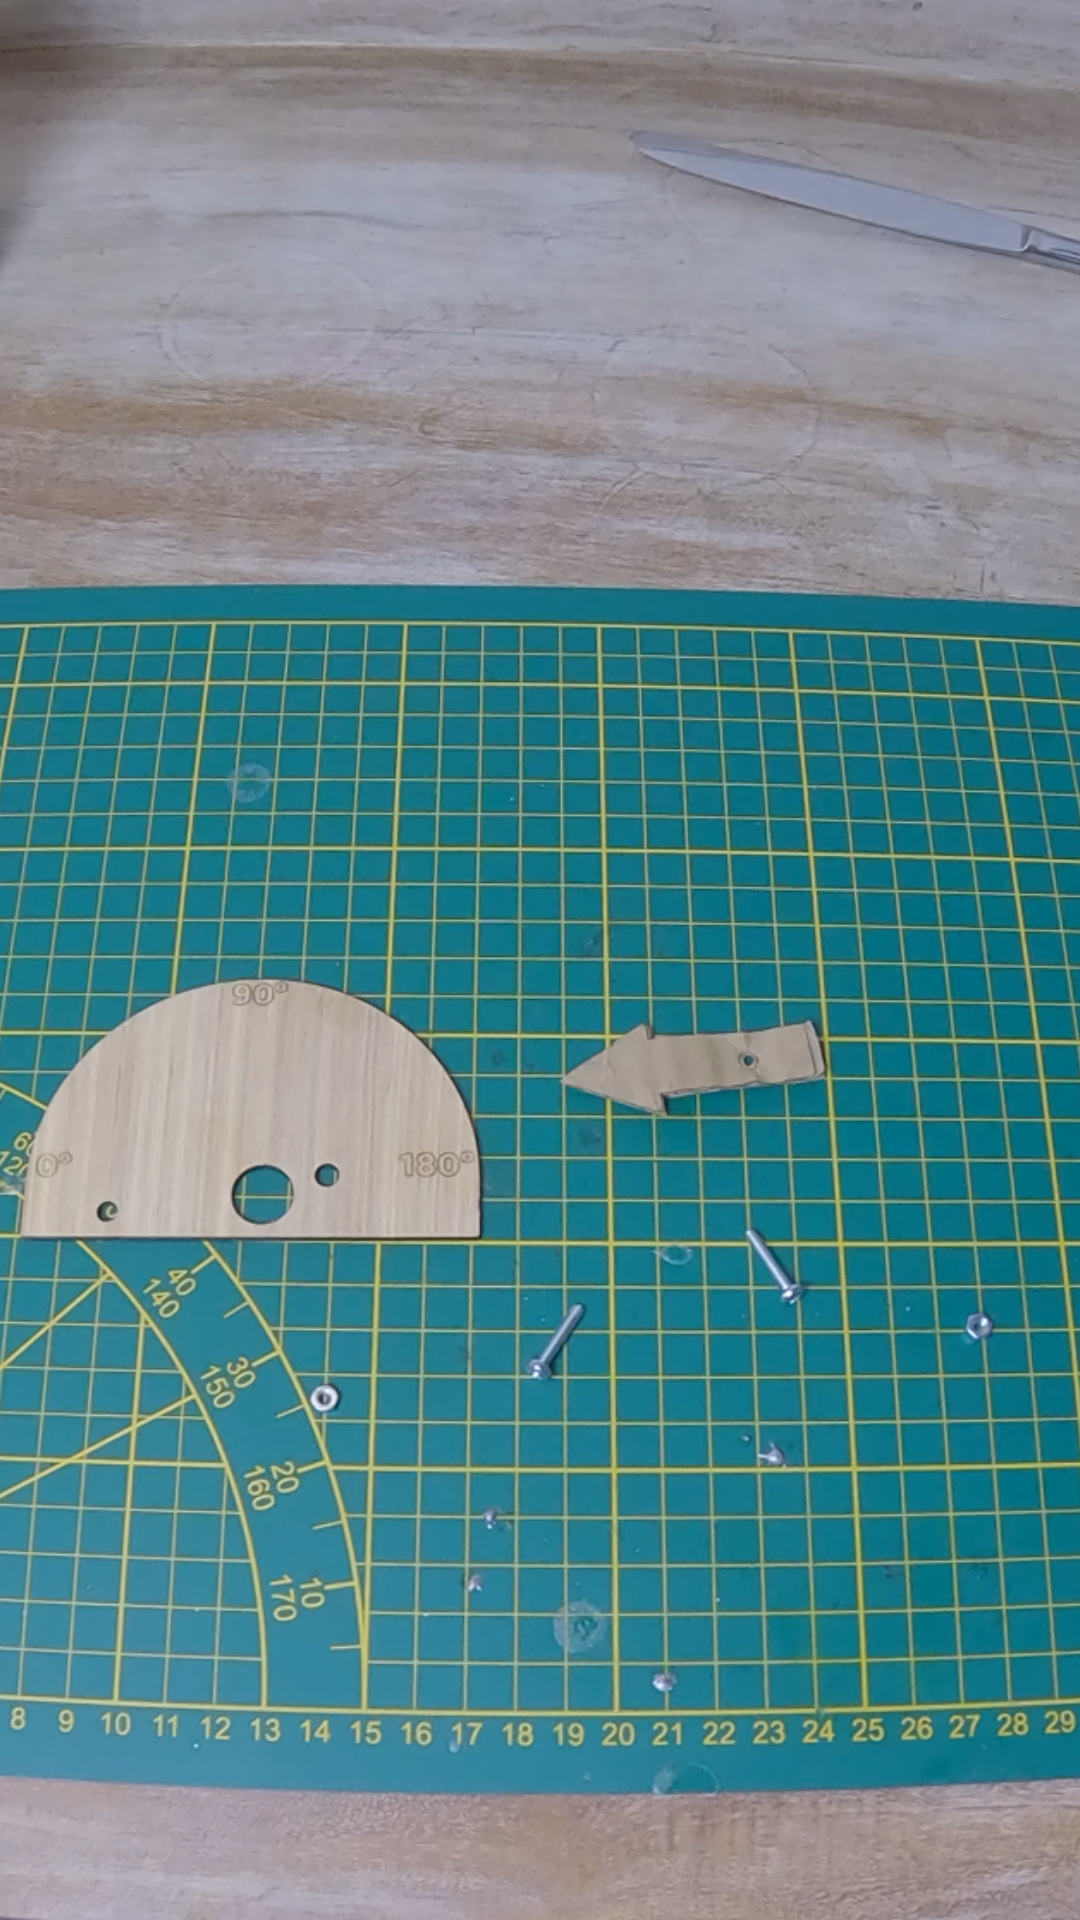
The compass was cut from 3 mm plywood using a laser cutter. If you don’t have access to one, you can make it from cardboard by printing the template on paper.
The template is available in the GitHub repository:
Schéma/compas.svg.For the arrow, cardboard is recommended — 3 mm plywood is too thick for the servo horn screw.
Hardware: M3 × 15 mm screws × 2 and M3 nuts × 2.
Arduino Uno
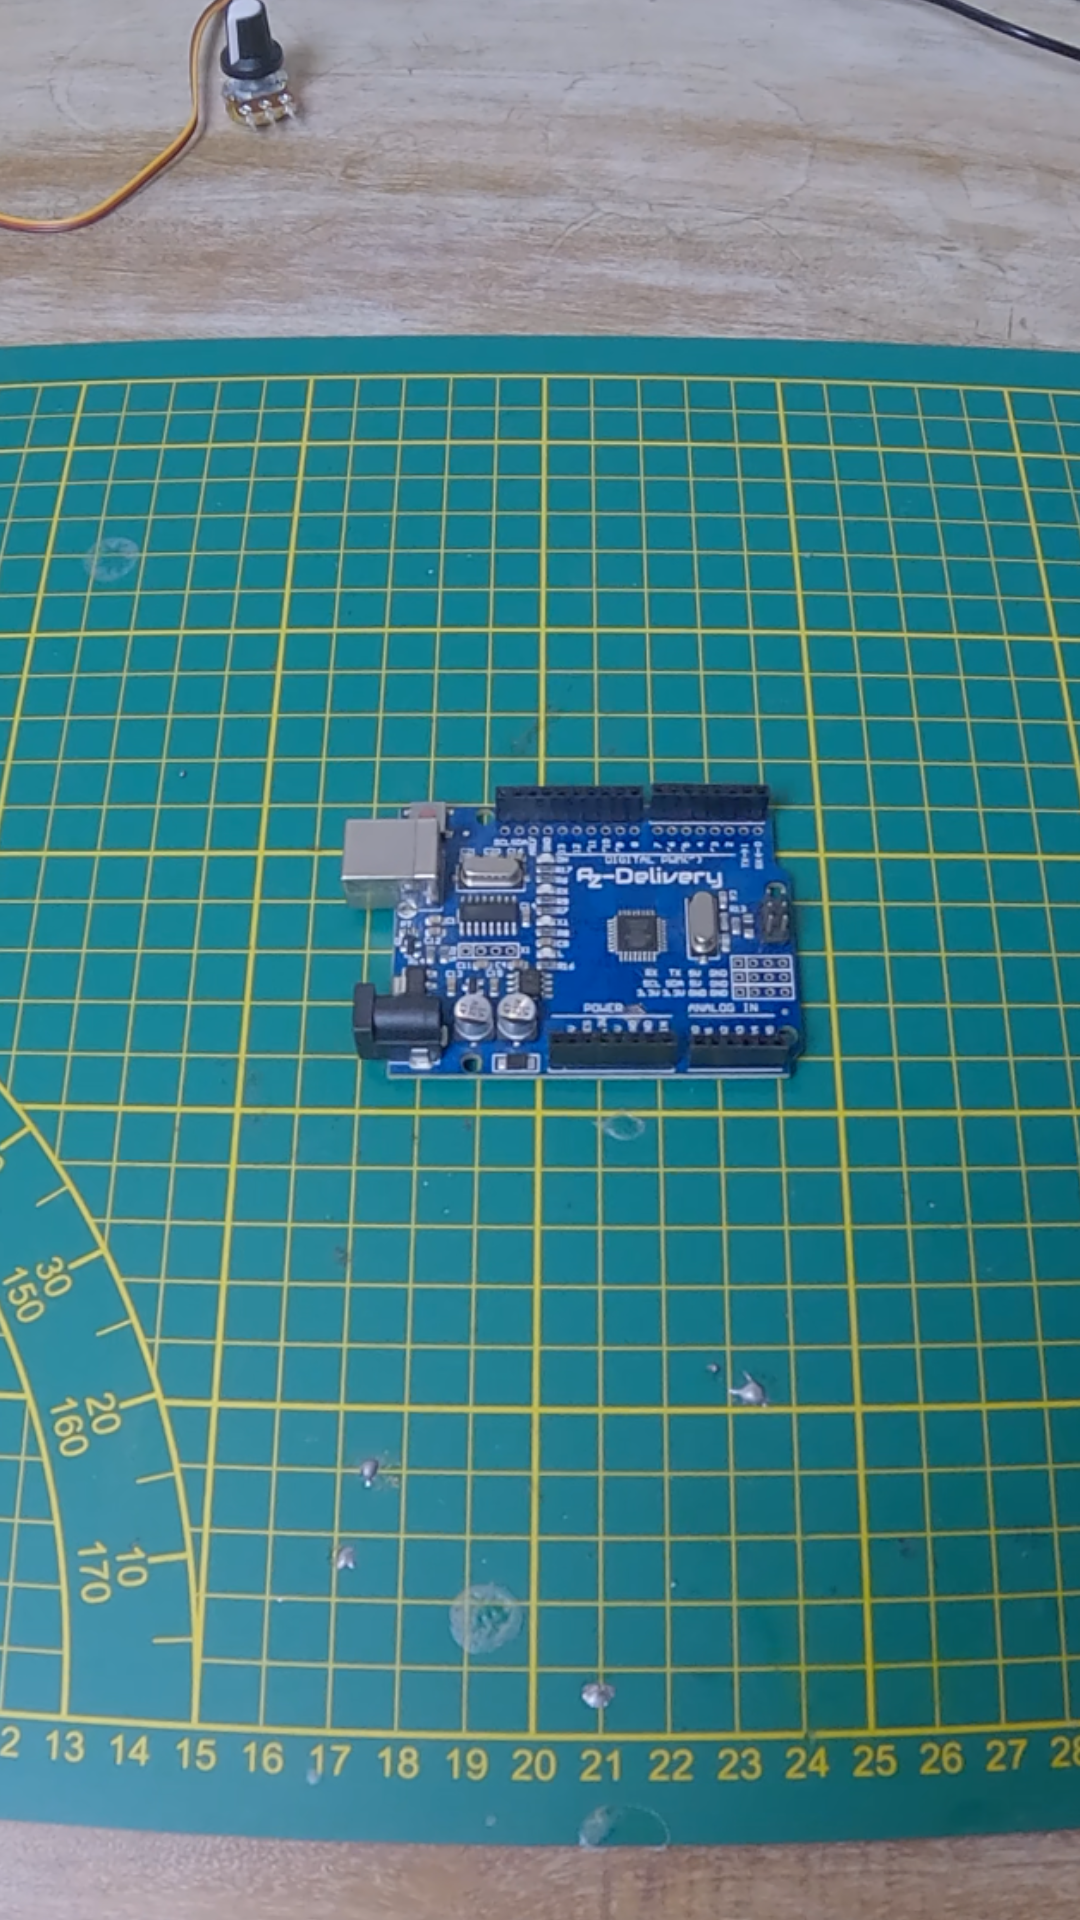
Breadboard
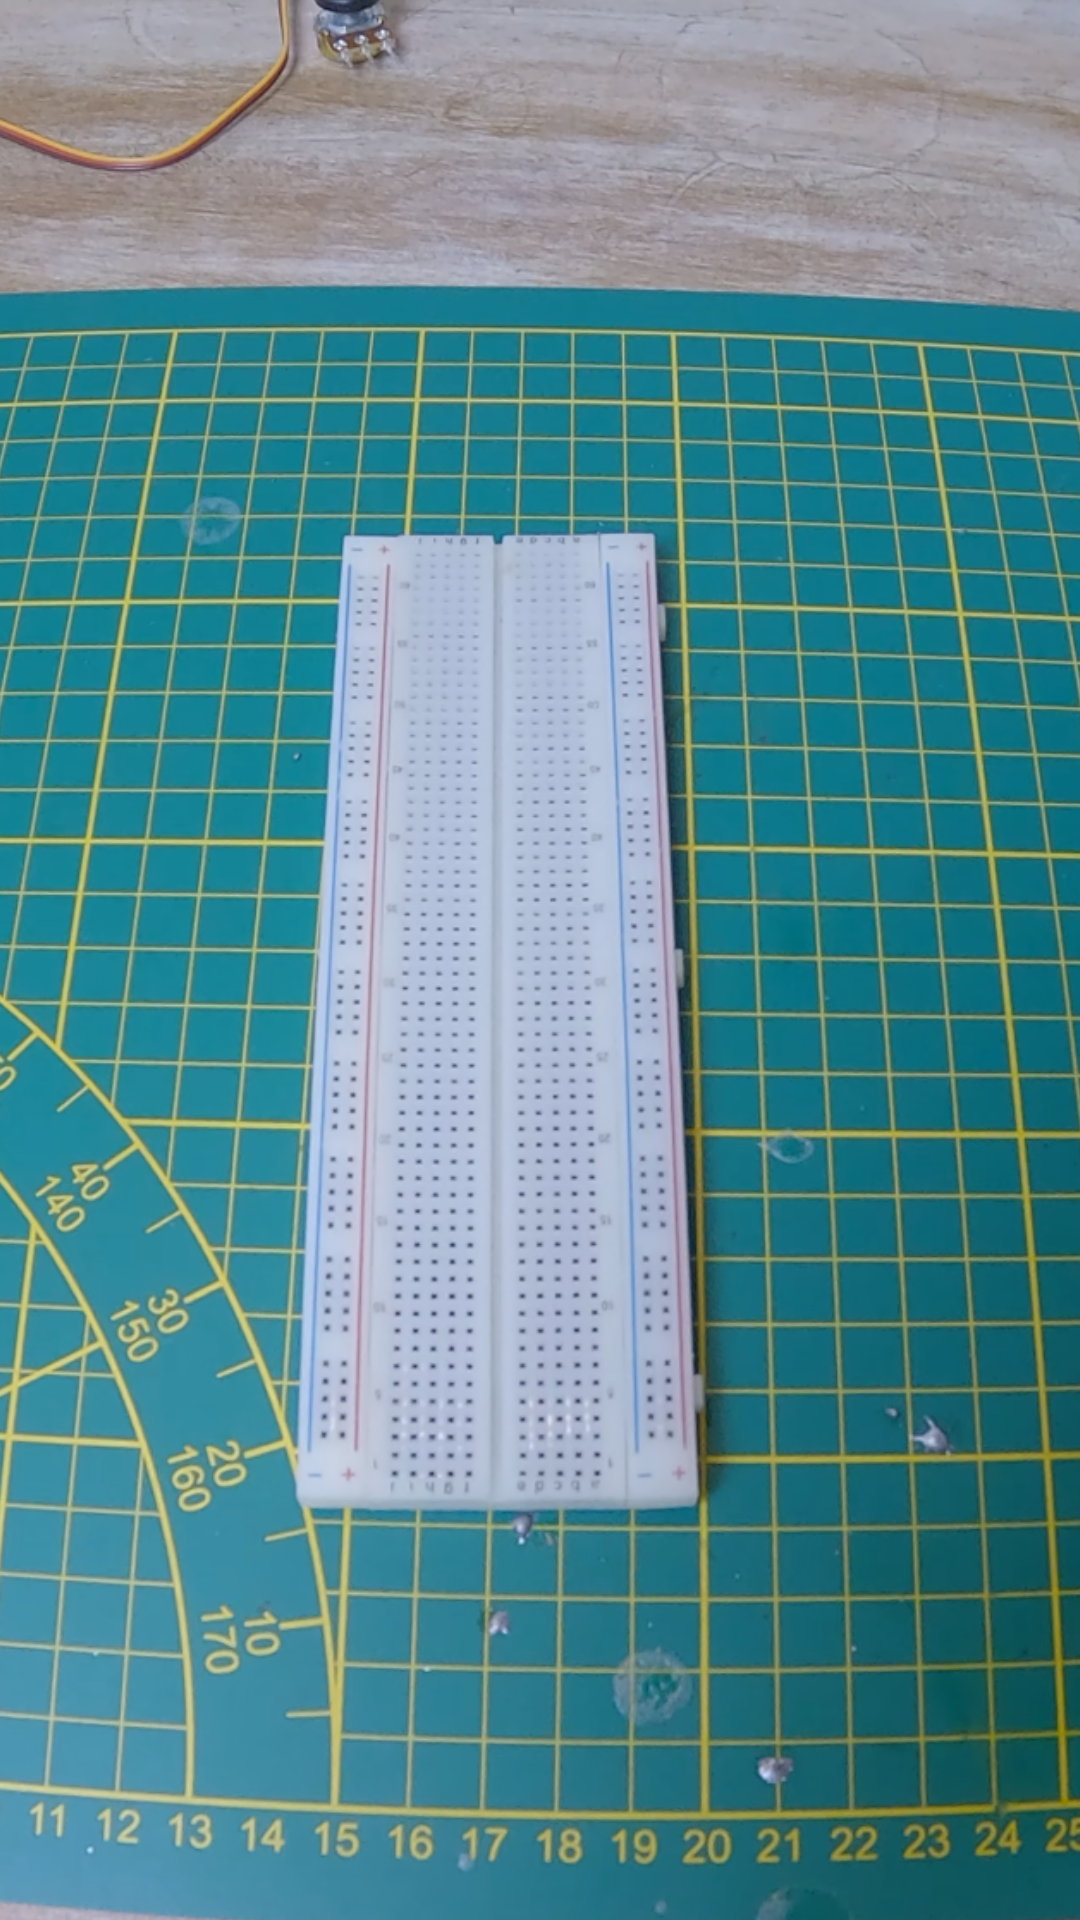
5V 3A Power Supply
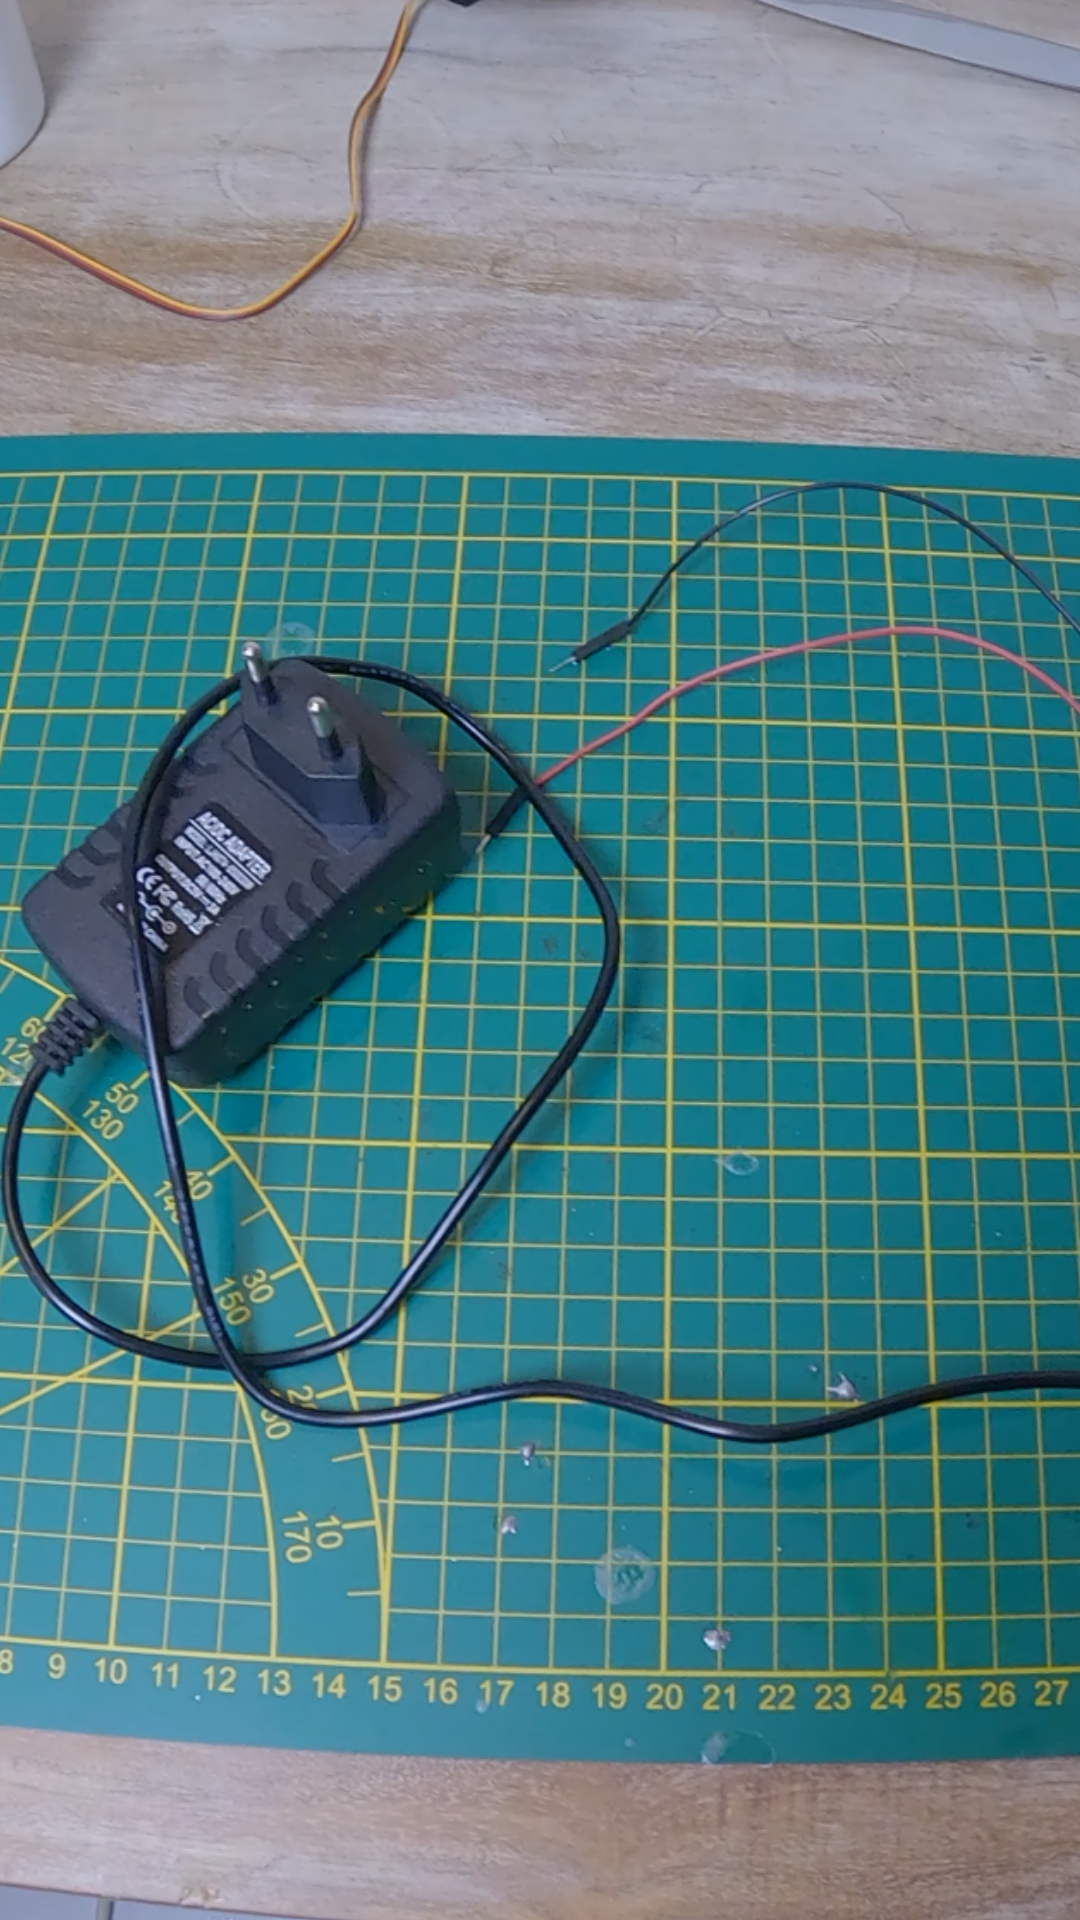
The external 5V 3A power supply connects to the breadboard’s +5V and GND rails, powering all components including the Arduino Uno.
1000 µF Capacitor
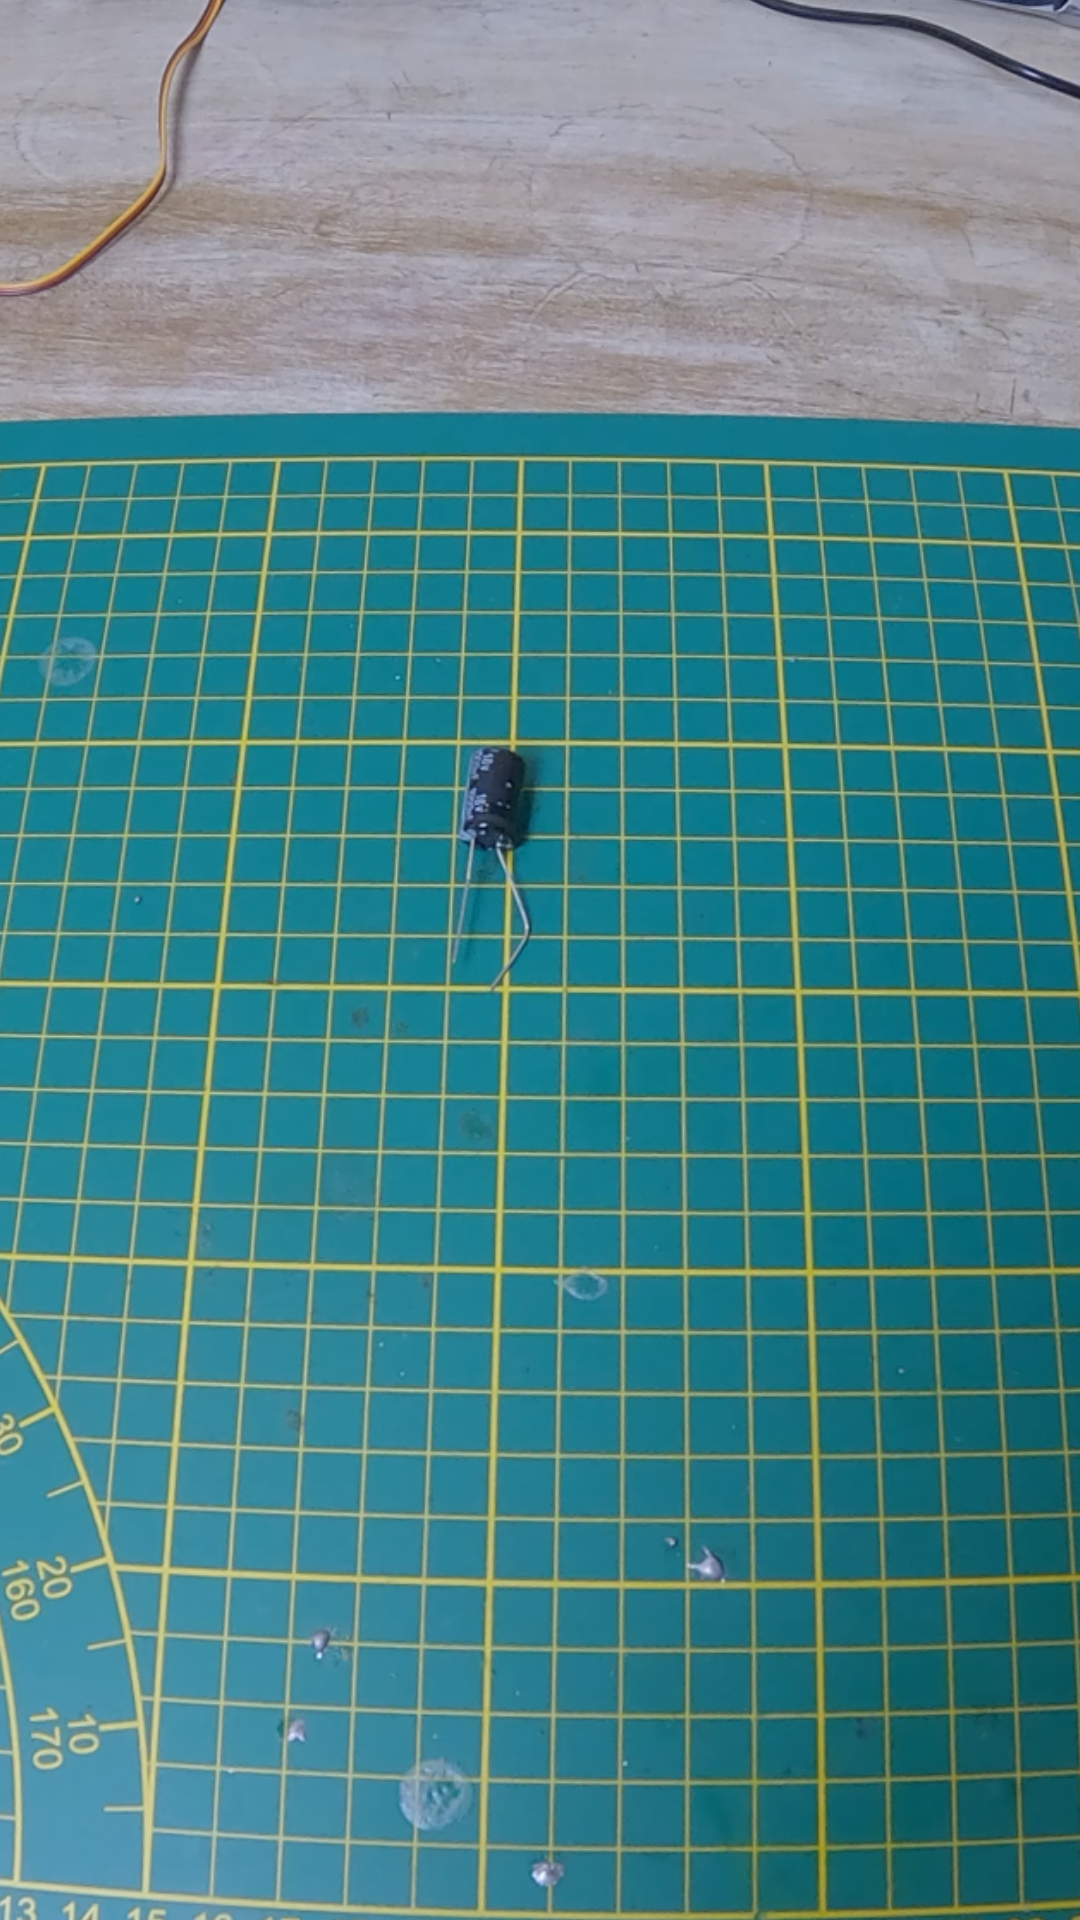
The capacitor is optional but recommended. Place it directly on the breadboard between +5V and GND.
Final assembly
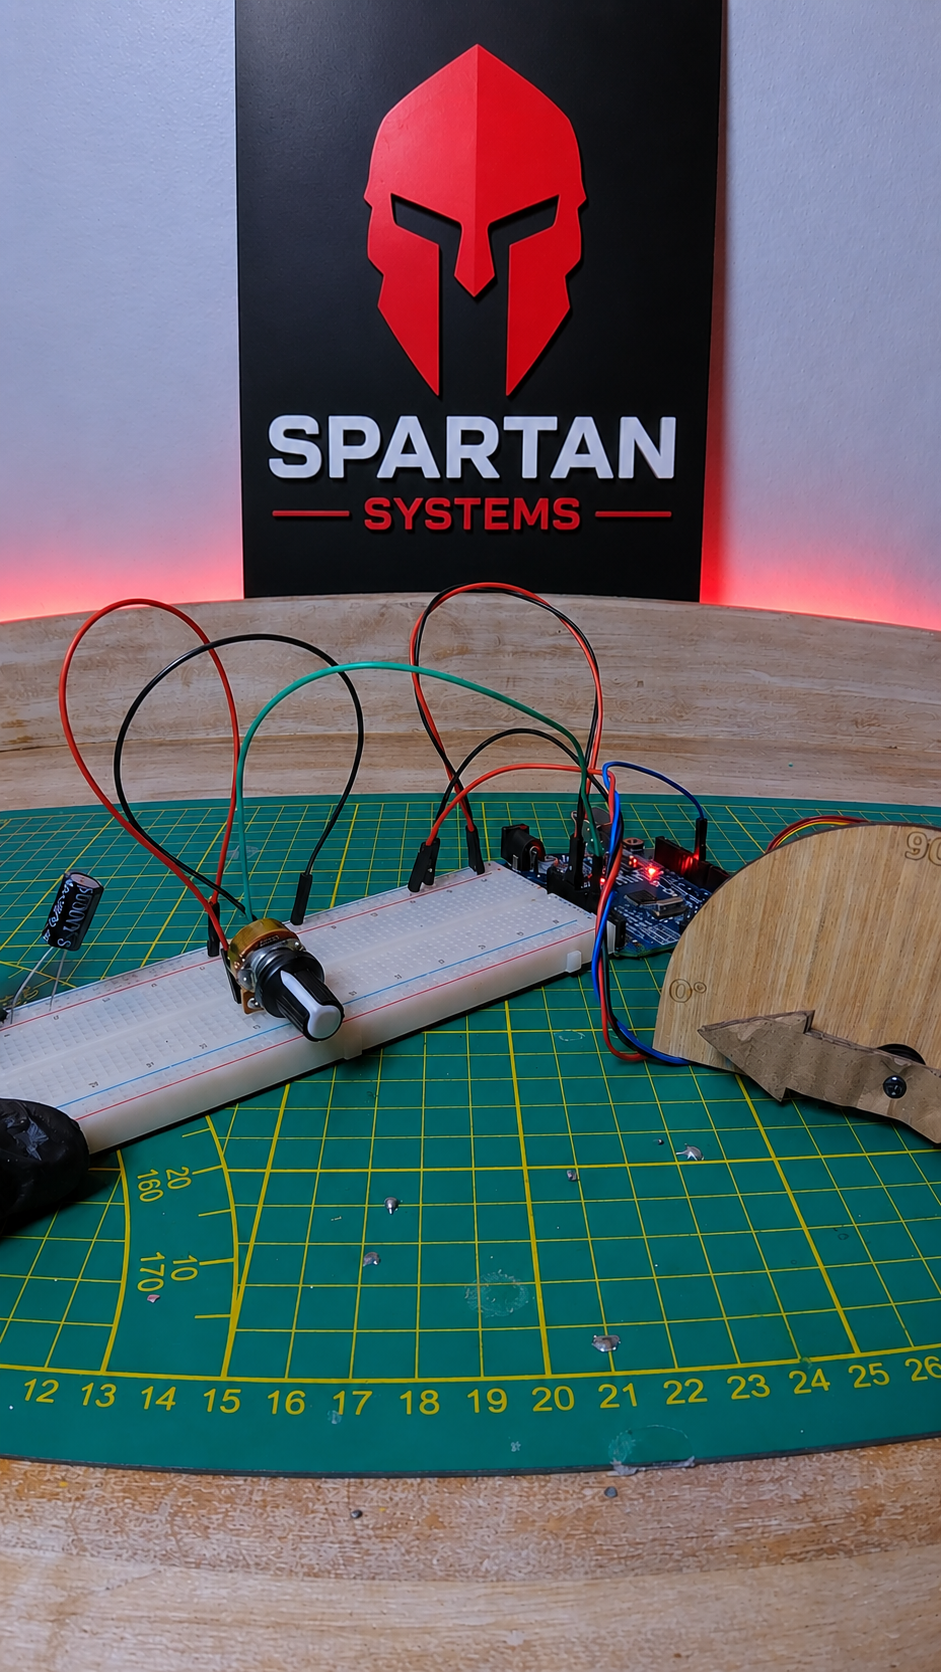
Tip
Add a 1000 µF capacitor between the servo’s +5V and GND lines to prevent voltage drops that can cause erratic movement or Arduino resets.